I try my best to ensure that my friends and family, know about this inexpensive DIY Christmas Tree decoration keepsake! There are many customizable ornament options on the market, prices ranging from inexpensive and affordable, to very pricey. The problem with the inexpensive options, is that they usually aren’t customized to my liking. I absolutely adore baby hand and footprints! But to have those professionally made into ornaments, you can expect to pay a hefty price! (In my opinion. I’m on a budget.)
These salt dough ornaments are so easy to make, nearly foolproof and very cost effective. The dough comes together quickly, and consists of flour, salt and water. If you’d like to paint them after baking, you will need paint brushes and I use acrylic paint. You can also brush a layer or two of ModPodge or a glaze on top after painting too! Without adding ModPodge or a glaze, they will have a matte finish, which is fine by me.
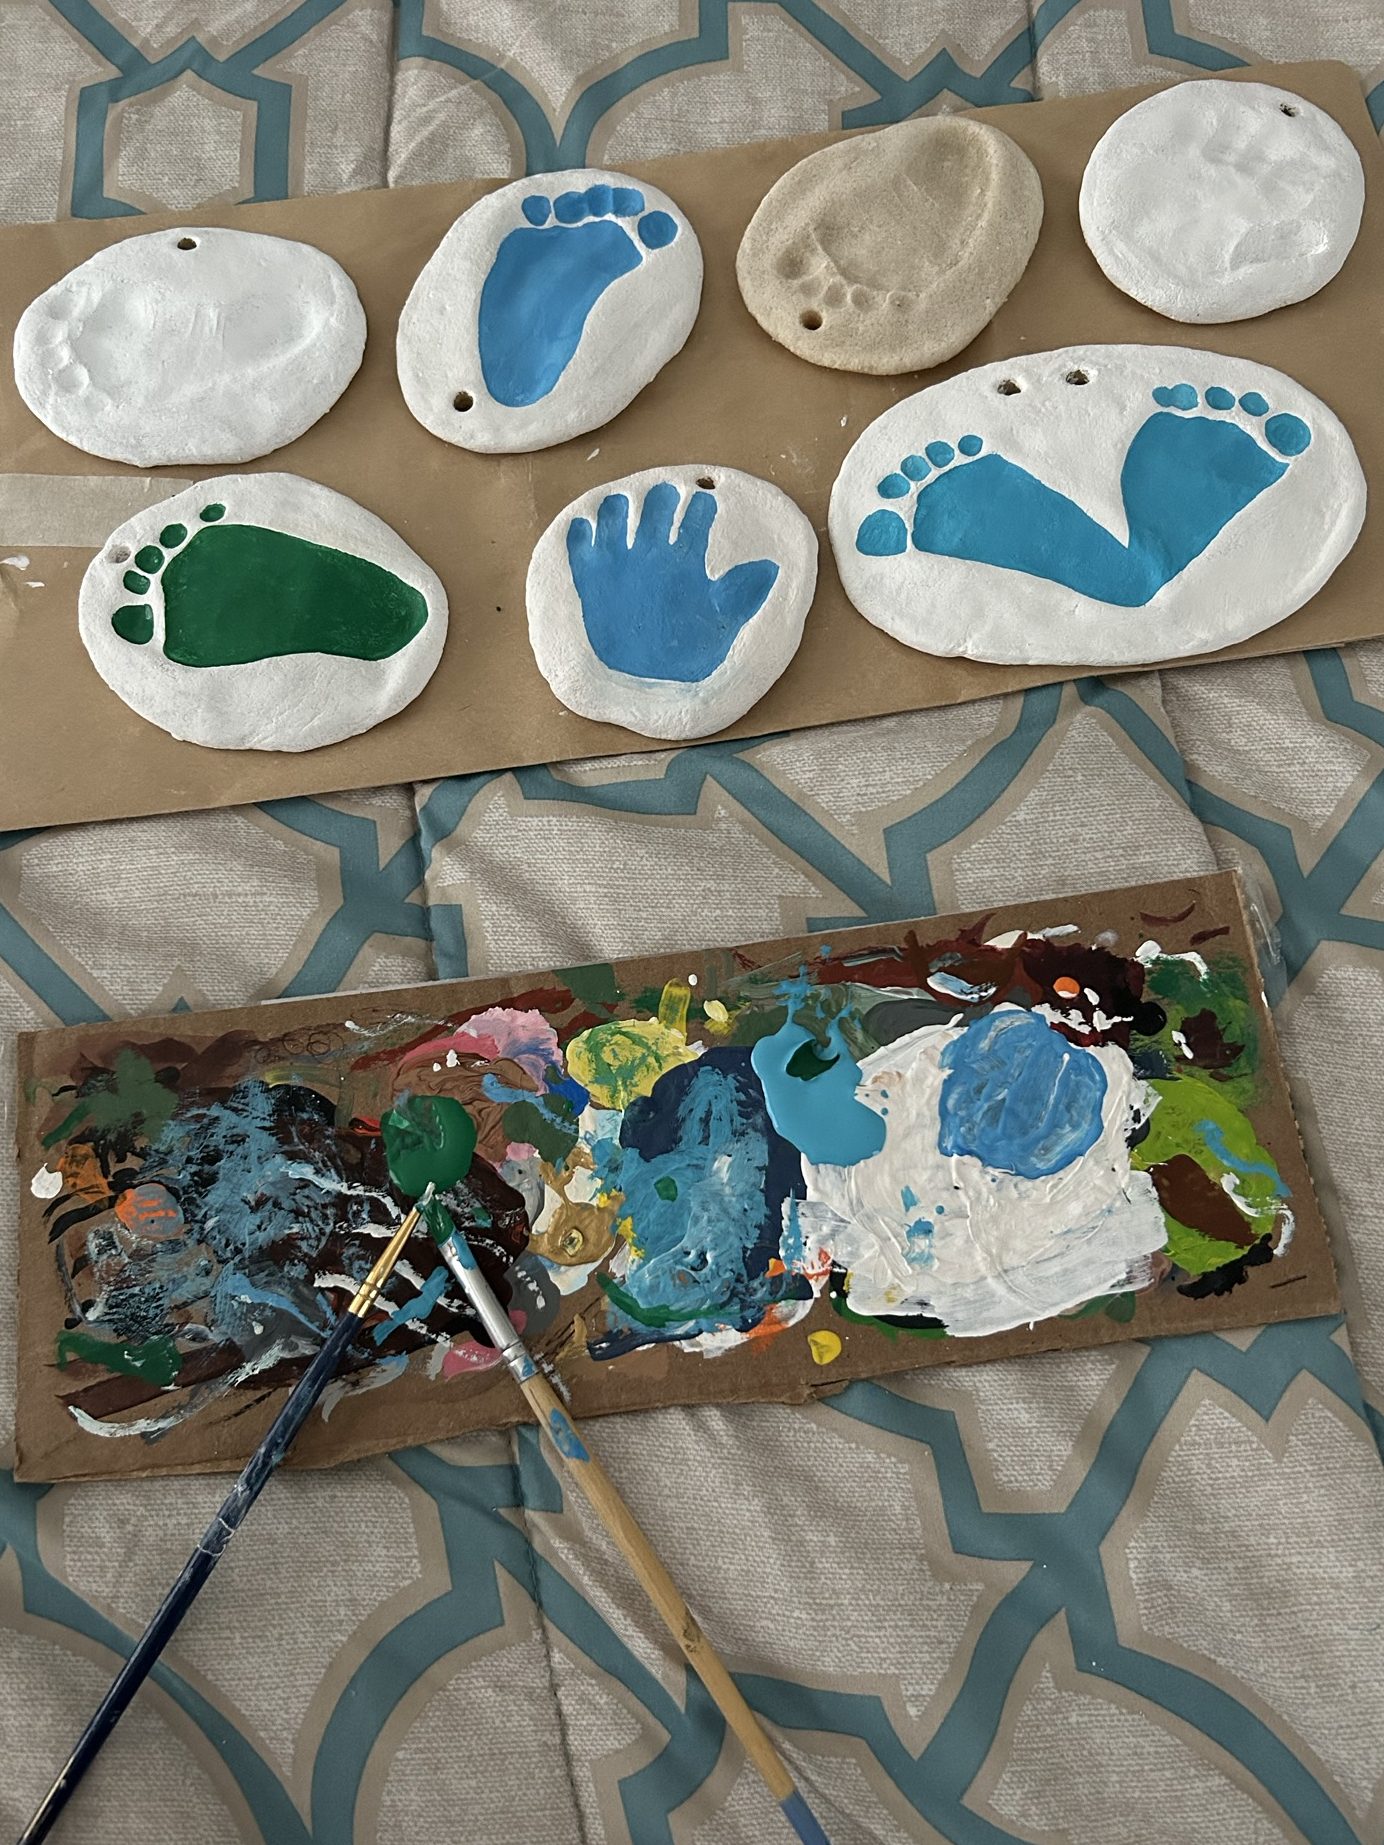
The picture above shows a 1 year difference of the size of my son’s feet! Honestly, I was astonished when I compared the two. I cannot BELIEVE his feet grew so much! Trust me, these are worth the effort. I cannot wake to compare them year by year.

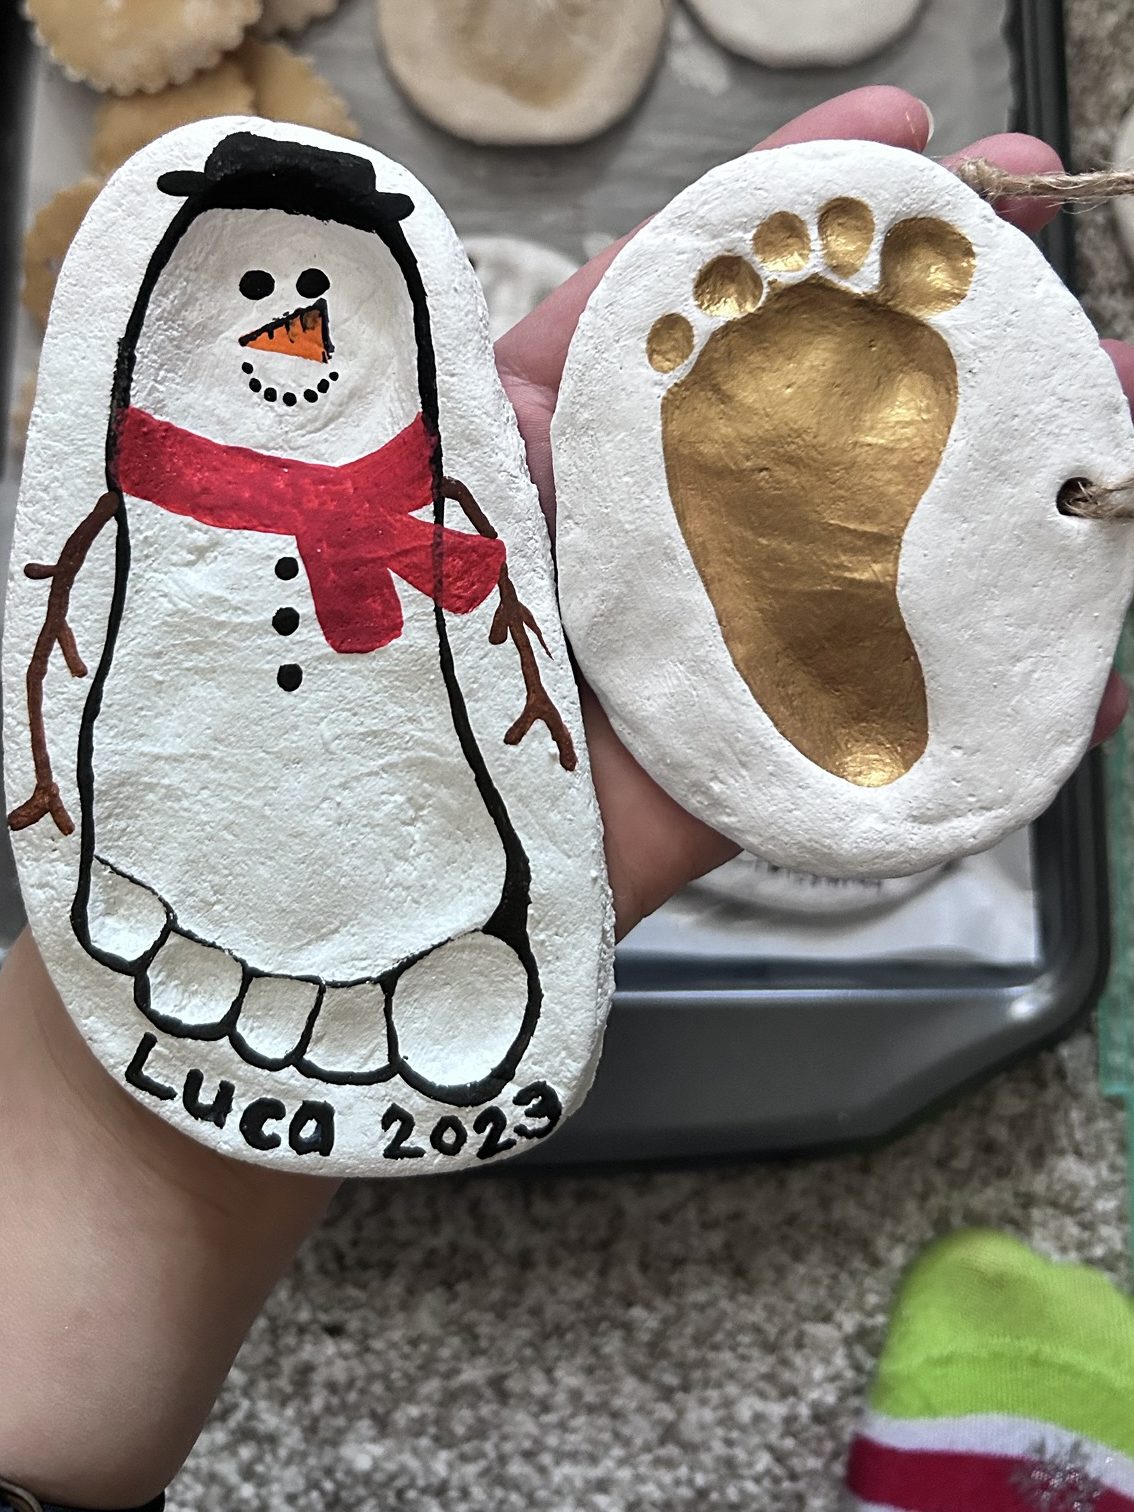
I have to admit, that I sobbed when I pulled this ornament out this year (2024). His handprint is so tiny, and it was from 2 years ago, when I held that little tiny hand in my own hands. It made me so nostalgic for those newborn moments with him, my first little baby. I can’t believe how much he’s grown, and that he just experienced his THIRD Christmas with us! It’s so bittersweet, and beautiful. I love that little guy.
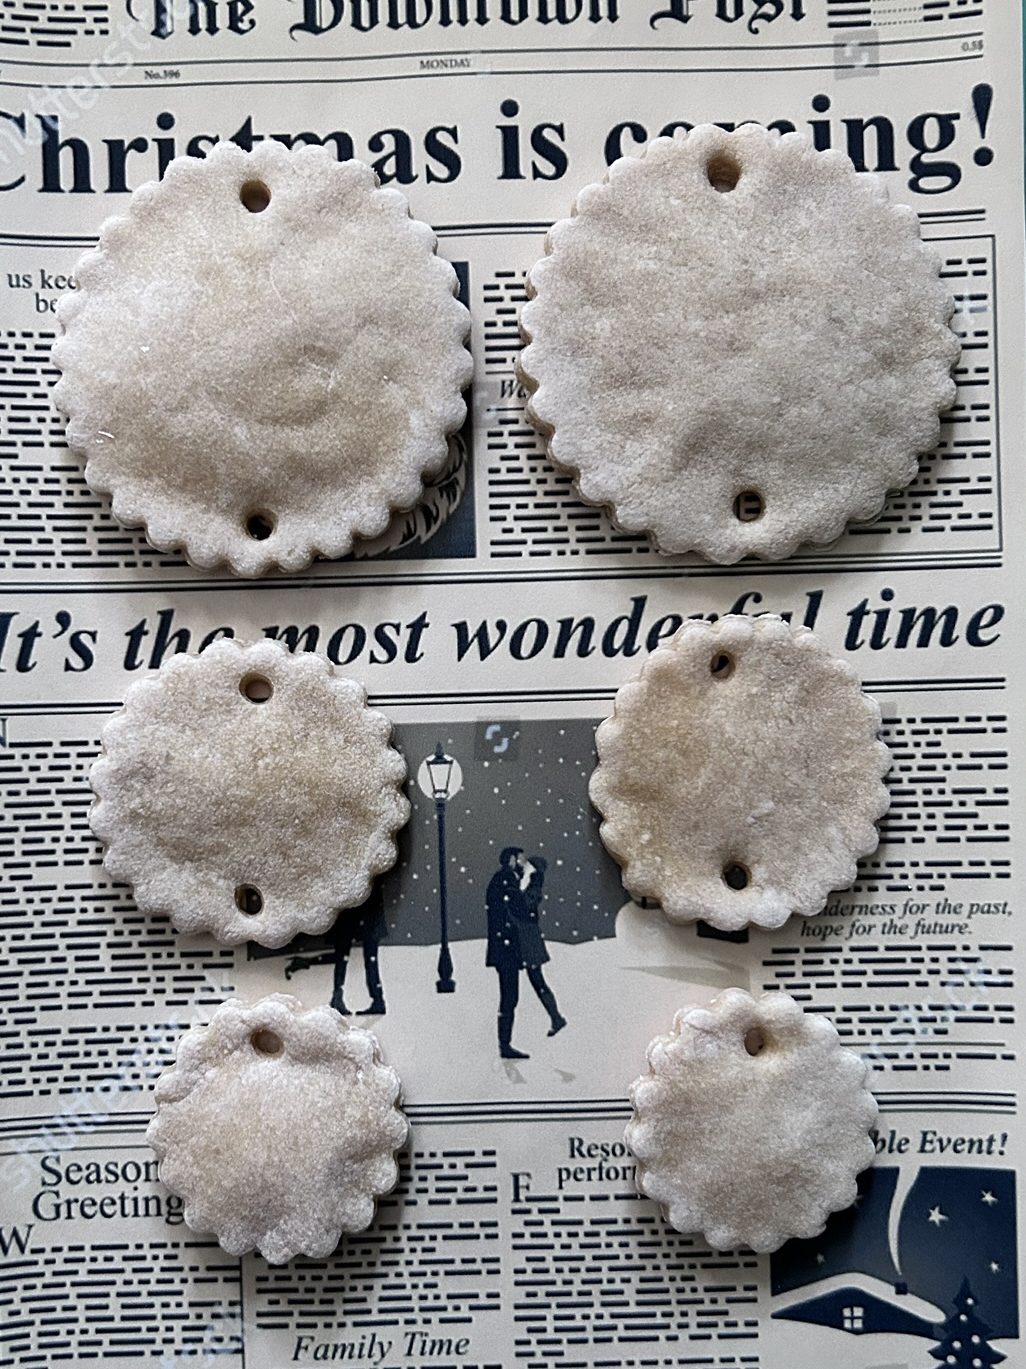
I had some leftover dough this year, so I used some scalloped round cookie cutters and straws to make the shapes above. Odd thing though, they puffed up while baking! So, I am not sure I’ll use them as I intended. If I do… I will post the updates here.
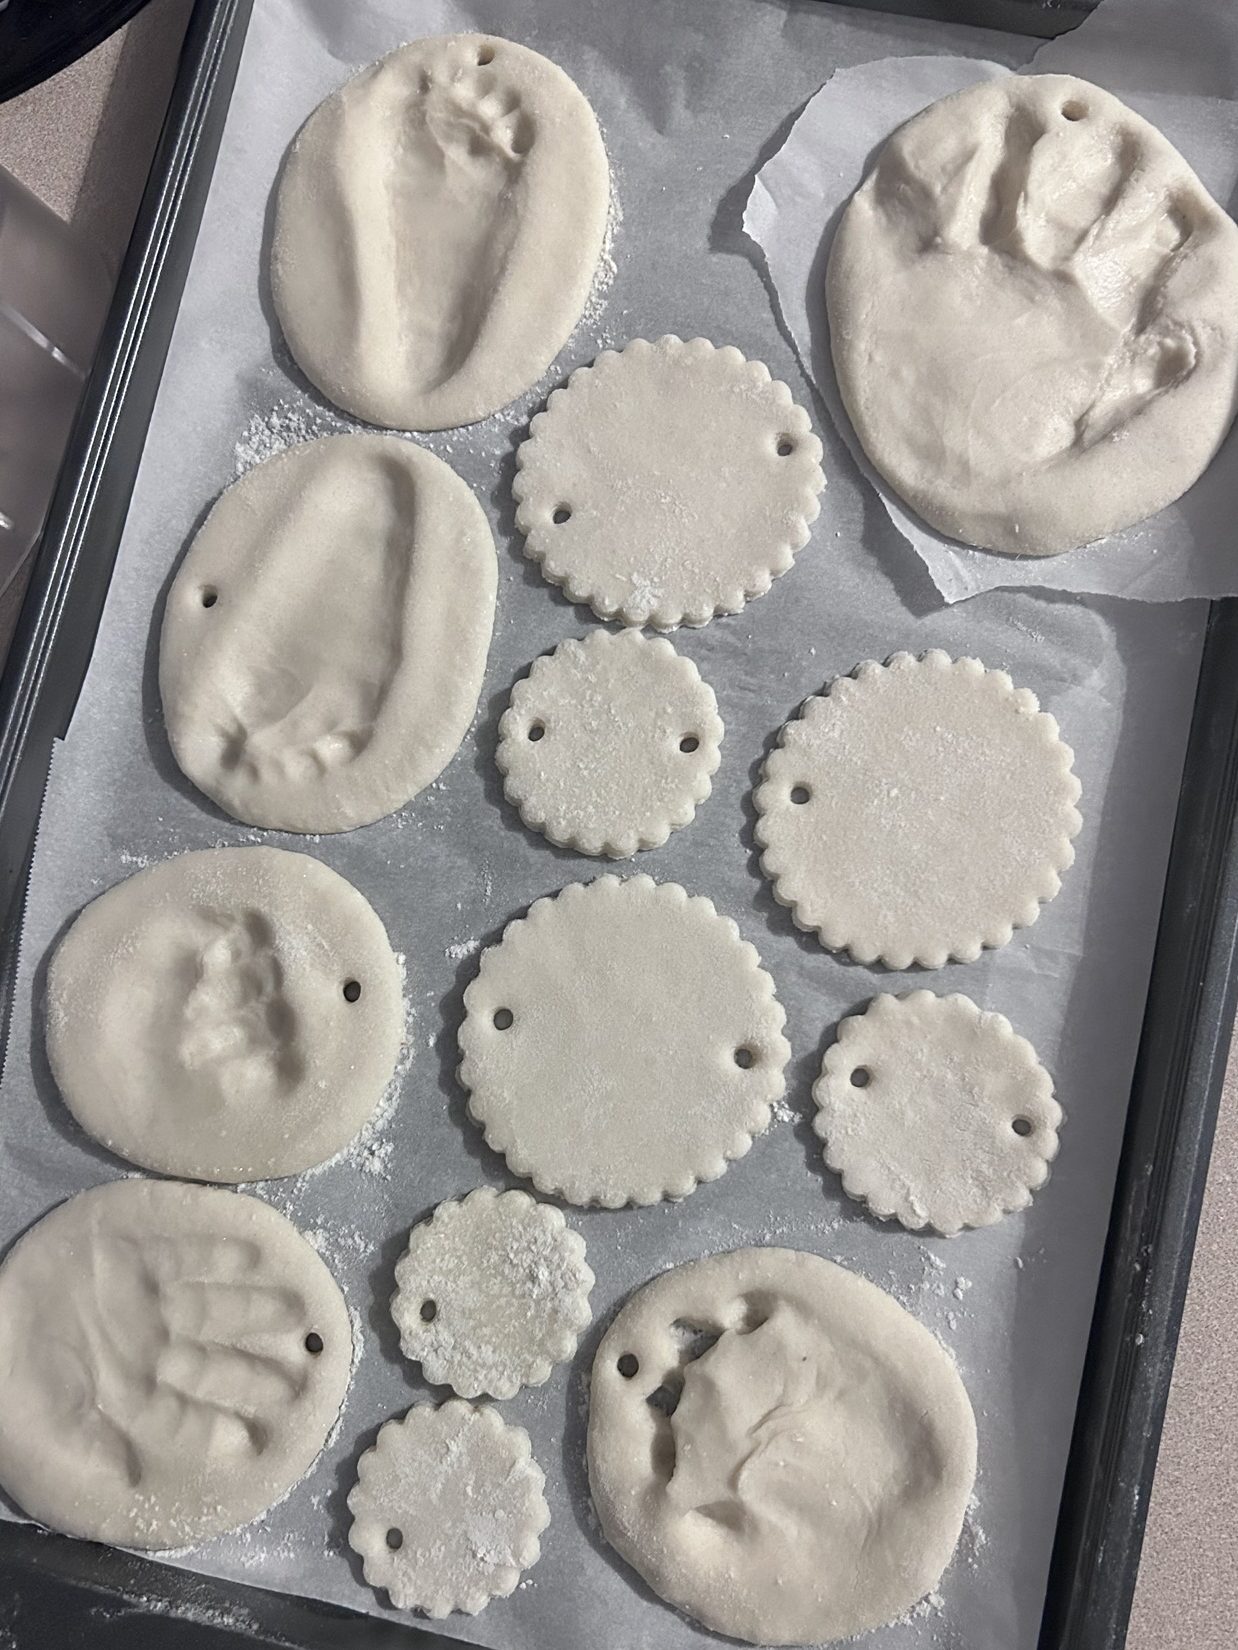
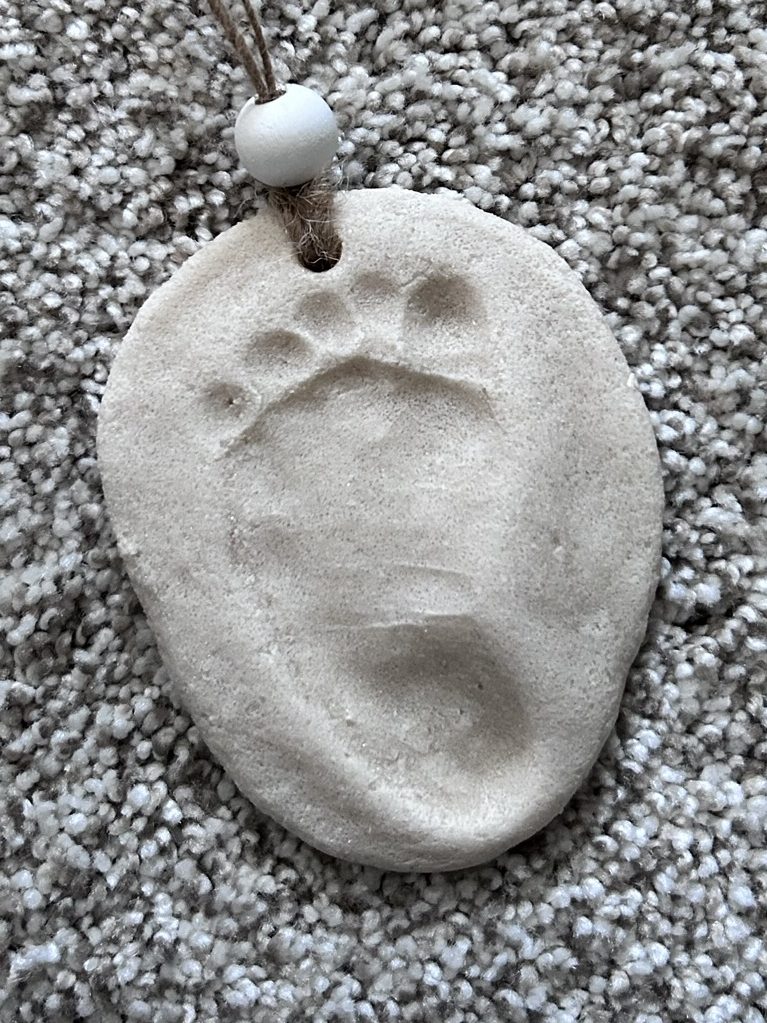
This is how the dough looks prior to baking. I will say, when I first made these I was a bit disappointed with how they looked after baking! They lose that perfect off-white color and smooth texture. They become rougher, almost with a semblance to sand. But, they are still beautiful and 100% worth doing, hence my 3rd year making them.
If you don’t have a paint palette to place your paints, you can use pieces of cardboard! I have used cardboard squares/rectangles from shipping boxes as my paint palettes for years and they work perfectly fine for me.
Salt Dough Ornaments
Ingredients:
- 2 cups all-purpose flour
- 1 cup salt
- 1 cup water
Instructions
- Mix together the salt dough ingredients. It should form a ball of dough and be moist but not wet.
- Roll your dough onto a floured surface so it doesn’t stick. Sprinkle flour over the top as well, so the rolling pin doesn’t stick to it.
- Use cookie cutters of your choice to cut out shapes, and then use a straw to cut a small hole out, where you will attach string, twine, or ribbon. This is how you’ll be able to hang your ornaments!
- Place your dough cutouts on a baking sheet lined with parchment, a silat mat, or foil. I recommend parchment paper! I use it for everything.
- Bake your dough shapes for 3 hours at 200 degrees Fahrenheit. Remove from oven, and let cool.
- Now, you can decorate them!

Leave a comment